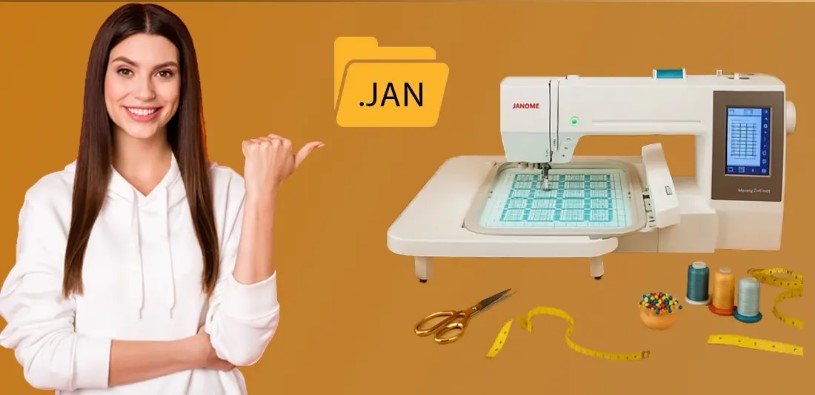
From Picture to Pattern: Image to JAN File Conversion Explained
Turning a beautiful picture into a machine-embroidered masterpiece may sound like magic—but thanks to modern embroidery software and file formats like JAN, it’s a very real (and surprisingly accessible) process. Whether you’re a hobbyist or running a small embroidery business, learning how to convert images into JAN files can be a total game-changer.
In this guide, we’ll break down the process of image to JAN file conversion, how the JAN format works, and what you need to successfully bring your creative ideas to life on a Janome embroidery machine. We’ll also cover tools, tips, and professional digitizing services if you’d rather leave it to the experts.
What Is a JAN File in Embroidery?
A JAN file is the native embroidery file format used by Janome embroidery machines and Janome Digitizer software. It contains detailed instructions for the machine to follow—including:
- Stitch types (satin, fill, etc.)
- Stitch direction and order
- Color changes
- Thread trims and jumps
- Design size and position
Because it’s native to Janome’s software suite, JAN files give users the most editable and customizable experience on compatible software and machines.
Why Convert an Image to a JAN File?
Most images—whether it’s a JPEG, PNG, or SVG—aren’t ready to be stitched just as they are. These image formats are pixel-based or vector graphics, not stitch data. Your embroidery machine can’t interpret a flat image the way you do.
That’s where digitizing comes in.
Digitizing is the process of converting an image into stitch commands your embroidery machine understands. When you’re using a Janome machine, your goal is to digitize that image into a JAN file so that it’s readable and stitchable.
Tools You Need for Image to JAN File Conversion
To convert images into JAN files, you’ll need the right software—and possibly some help depending on your skill level.
1. Janome Digitizer MBX / Jr.
Janome’s official embroidery software allows you to:
- Import common image formats (JPEG, PNG, BMP, etc.)
- Manually or auto-digitize the image into embroidery
- Save or export the file as a .JAN format
- Edit stitches, colors, and layers
Pro tip: While automatic digitizing is tempting, manual digitizing offers better results for logos and intricate designs.
2. Other Embroidery Software (with JAN Support)
Although the JAN format is specific to Janome, some other software platforms (like Hatch or Wilcom) let you export to JAN if you have the correct plug-ins.
That said, using Janome Digitizer is the most seamless method if you’re committed to the JAN workflow.
3. Professional Digitizing Services
Not ready to dive into digitizing yourself?
That’s where expert digitizing services like Digitizing Buddy come in. Their team can quickly convert your artwork—whether it’s a logo, sketch, or photo—into a flawless JAN file ready to stitch.
- Fast turnaround
- JAN and other machine-specific formats
- Clean, efficient stitch paths
- Great for business branding, custom gifts, or Etsy shops
Step-by-Step: How to Convert an Image to a JAN File
Let’s walk through the basic process if you want to try it yourself:
Step 1: Prepare Your Image
- Clean, high-resolution images work best.
- Use solid colors and clear outlines.
- Simplify if necessary—highly detailed photos don’t always translate well.
Step 2: Open Janome Digitizer Software
Launch Janome Digitizer MBX or Digitizer Jr. on your computer.
Step 3: Import Your Image
Go to File > Import Artwork and select your image.
- Use the resize and rotate tools if needed.
- Ensure the image fits within your embroidery hoop dimensions.
Step 4: Digitize the Image
Choose between:
- Auto-Digitize: A one-click option to convert image shapes into stitches.
- Manual Digitizing Tools: For precise control—great for logos or text.
Assign stitch types like:
- Satin for borders and letters
- Fill for large areas
- Running stitch for details
Step 5: Customize and Preview
Tweak the following:
- Stitch angle and density
- Pull compensation
- Color sequencing
- Thread trims and underlays
Use the 3D preview feature to simulate the stitch-out.
Step 6: Save as a JAN File
Once you’re happy with the design:
- Go to File > Save As
- Choose .JAN as your file format
You’re ready to load the design into your Janome machine via USB or direct connection.
What Makes a Good JAN Conversion?
Not all digitizing is created equal. Here’s what separates a high-quality JAN file from a frustrating one:
| Good JAN File | Poor JAN File |
| Clean stitch paths | Excessive thread jumps |
| Correct stitch types | Wrong stitch selections |
| Well-balanced density | Too tight or loose fills |
| Logical color order | Confusing color changes |
| Minimal trims | Unnecessary cuts and gaps |
If you’re unsure about any of these, consider working with a professional service—especially for logos or detailed graphics.
Tips for Better Results
Here are a few extra tips to help your image-to-JAN conversion go smoothly:
- Simplify complex images: Too much detail can overwhelm the machine.
- Choose the right hoop size: Don’t design bigger than your machine’s capabilities.
- Stabilize your fabric: A good JAN file is useless without proper hooping and stabilizer.
- Run test stitches: Always stitch on scrap fabric before committing to the final product.
- Use proper thread colors: Match your design’s color sequence to the actual threads in your machine for a better final look.
When Should You Hire a Professional?
Here’s when it’s smart to outsource your JAN file conversion:
- You have a logo or intricate design
- You’re short on time
- You’re working with customers or on bulk orders
- You want flawless stitch quality
- You don’t have Janome software
Professional digitizers (like Digitizing Buddy) can provide machine-ready JAN files without the learning curve or stress.
JAN File vs. Other Formats: Why It Matters
While JAN is perfect for editing and designing in Janome software, you might also encounter formats like:
| Format | Machine Brand | Editable? |
| JAN | Janome | ✅ Fully editable |
| JEF | Janome | ❌ Limited editing |
| PES | Brother/Babylock | ❌ Limited |
| DST | Industrial/Tajima | ❌ Limited |
The JAN file is the best option for editing your own designs before converting to stitch-only formats like JEF for actual embroidery.
Final Thoughts: From Image to Embroidery Perfection
Turning a simple image into a polished JAN embroidery file might sound like a big leap—but with the right tools, techniques, or expert support, it becomes a straightforward, rewarding process.
If you’re new to digitizing or want guaranteed high-quality results, consider letting the pros handle the conversion. Services like Digitizing Buddy can deliver flawless JAN files from any image, so you can focus on stitching—not troubleshooting.


Post Comment